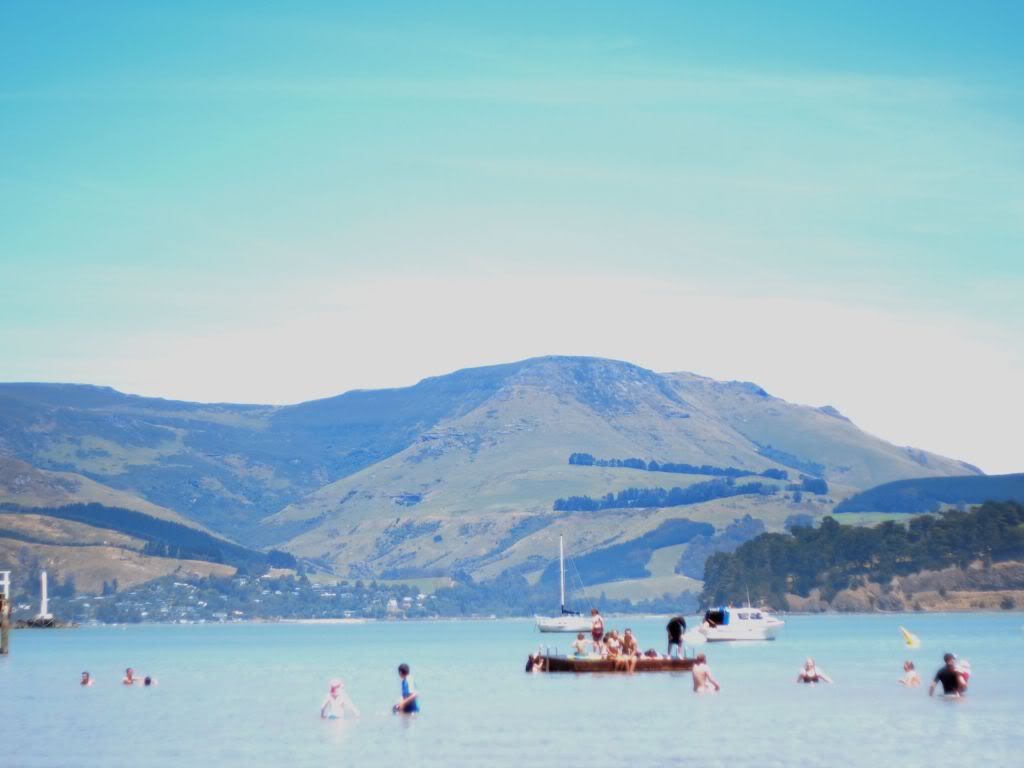
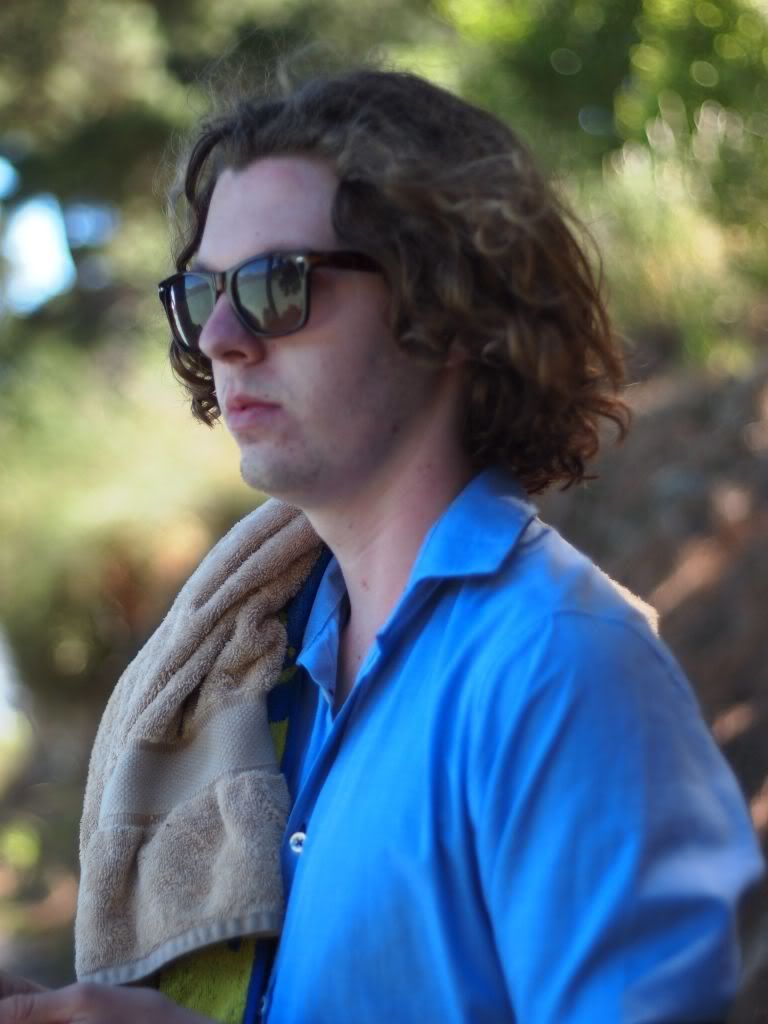
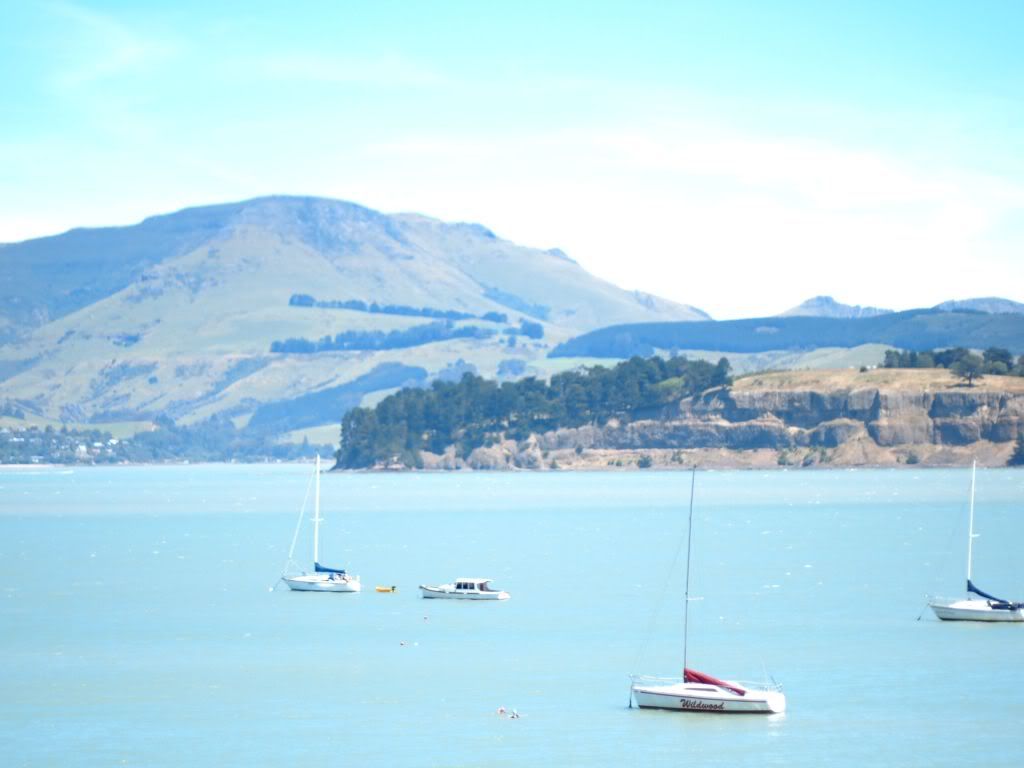
I've had a few days off my 60-hour week for Christmas, and have thoroughly enjoyed doing nothing. We don't get much into the traditional festivities in our household; just lots of beer, lots of lying around in the shade and lots of barbeques. Today Will and I decided we should probably do something vaguely useful with ourselves, so hopped in the car to traverse the tunnel to visit a favourite swimming spot. It was a little crowded due to today being one of the warmest days of the year, but beautiful nevertheless.
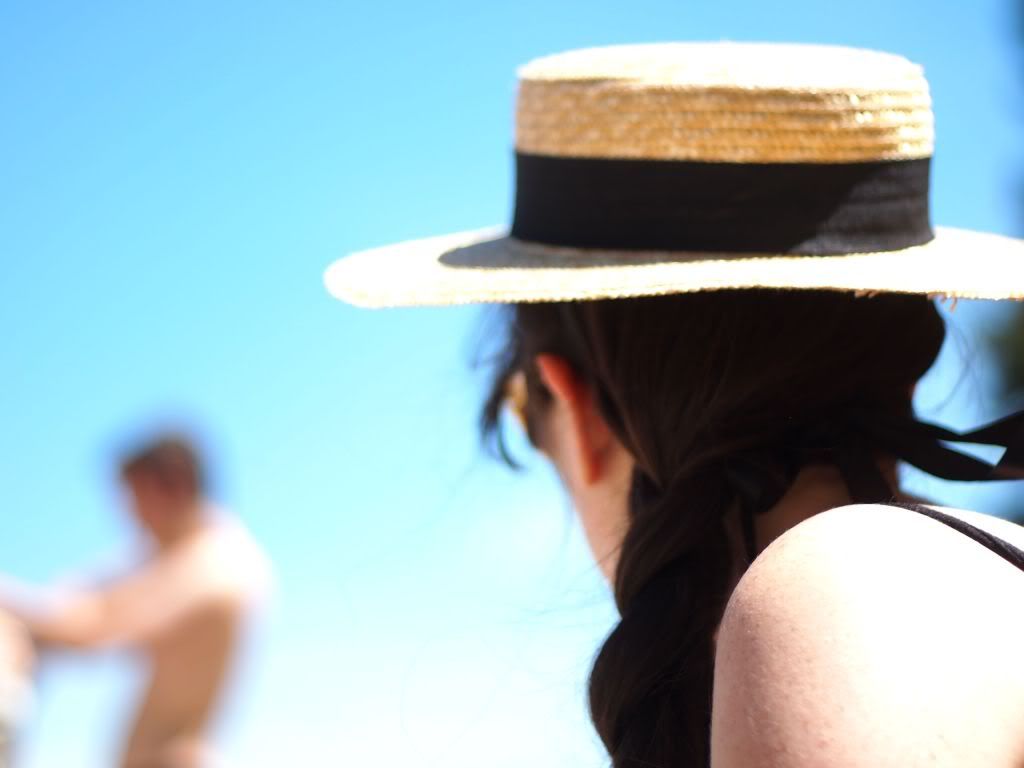
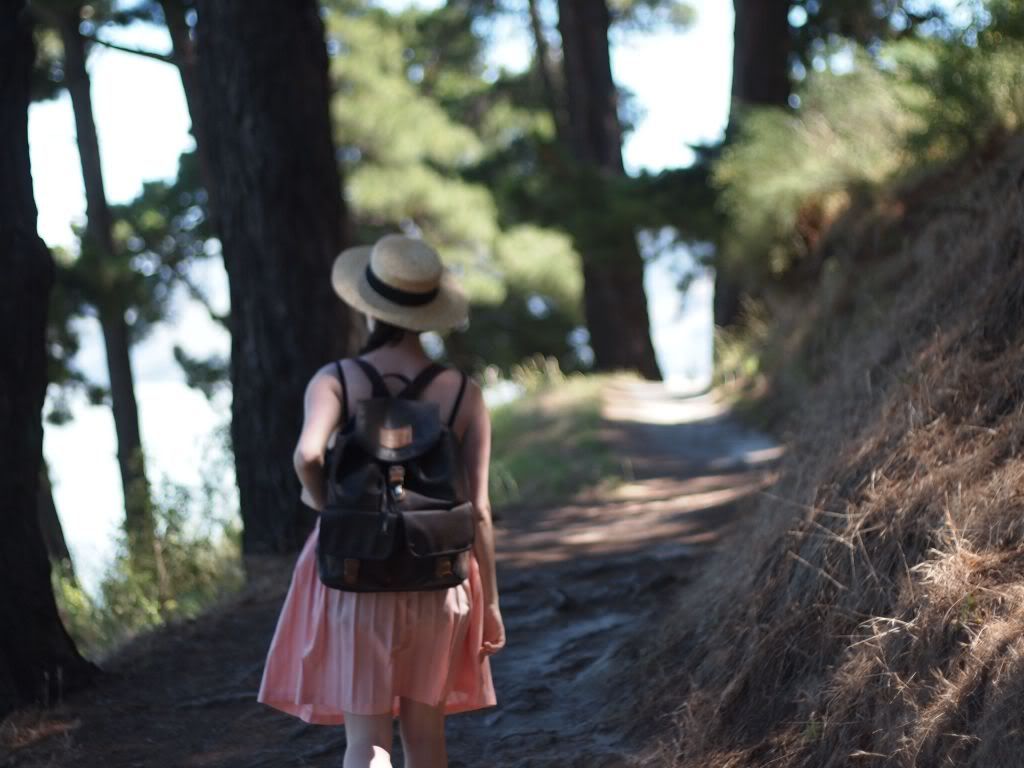
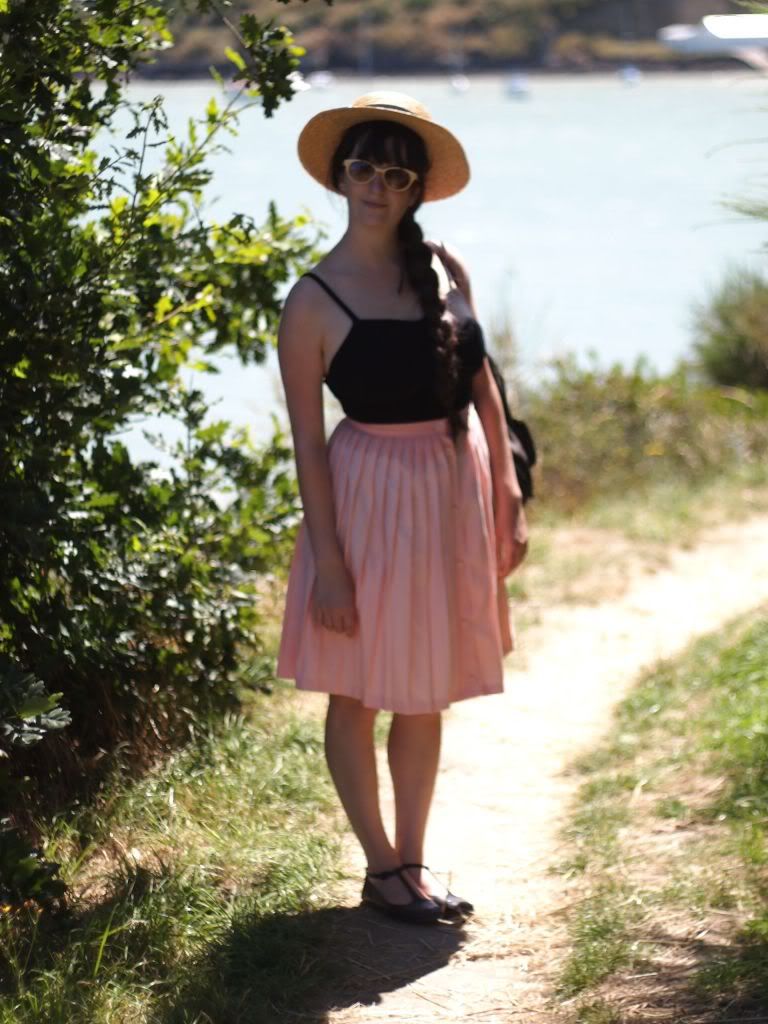
(Wearing a 1950s swimsuit from Margot's mum's dress-up box, thrifted skirt, thrifted leather backpack, sunglasses from a market in Hanoi, Trademe t-bars and boater that was a gift)
Can you tell how much I love this skirt? I wear it far too often, definitely the best 50 cents I've spent in recent years. I managed to cram a picnic and sunscreen and all the necessary supplies into my roomy leather backpack, although we tragically forgot the beers :( you can't win 'em all huh. Also, our family have a horrible hereditary trait whereby we have ginormous heads, and can't fit most hats. In fact, for my brother's graduation a fortnight ago, they had to custom-order him one that was huge enough to stay on. Thankfully I've figured out the perfect ribbon system to keep my boater on despite the ocean breeze, but I learned my lesson the hard way through losing it over the side of a bus in Singapore once.
I guess because of my insane work schedule this will be my last blog post for this year. 2011 has been pretty shit in a lot of ways, but I feel super optimistic about next year and everything it has to offer me. I wanna say thanks to all the amazing ladies I've had the privilege to meet through the medium of blogging- Ayesha, Camelia, Helga and Laurel. I hope Wellington has such an awesome network of badass bloggers, because I'm sure gonna miss you guys. Thanks so much to everyone who's left us comments and supported our little blog this year, and even though next year we'll be updating from different sides of the Strait, I've made a resolution to put more time and effort into blogging. So I'll see you all then.


